Kali Linux
One of the best-operating systems to perform penetration testing has to be Kali Linux. There are many flavours of Kali Linux available and can be installed on Windows, Mac, Raspberry Pi and more. All versions of Kali Linux can be downloaded from here.
Although you may not have a spare computer lying around to install Kali Linux, all is not lost. Kali Linux can be installed on a virtual machine using various hypervisors, such as VMware and VirtualBox.
For this tutorial, Kali Linux will be installed using VMware Workstation 15 Professional.
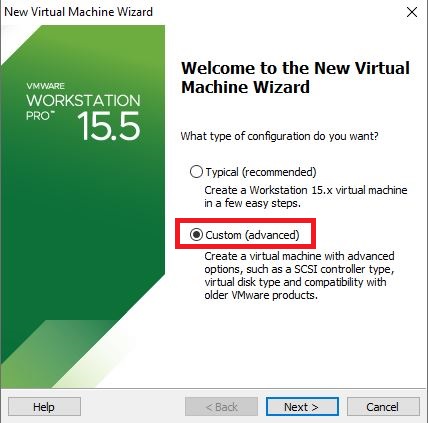
The first step is to create a new virtual machine. In VMware, this is done by selecting File > New Virtual Machine; this opens the New Virtual Machine Wizard.
For installing this Virtual Machine, the Custom option is selected, allowing us to view all available options. For the Virtual Machine Hardware Compatibility option, the default of Workstation 15.x was chosen.

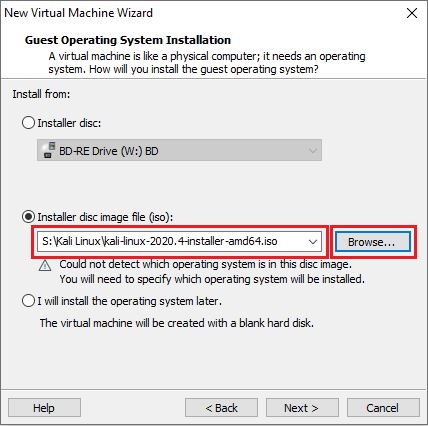
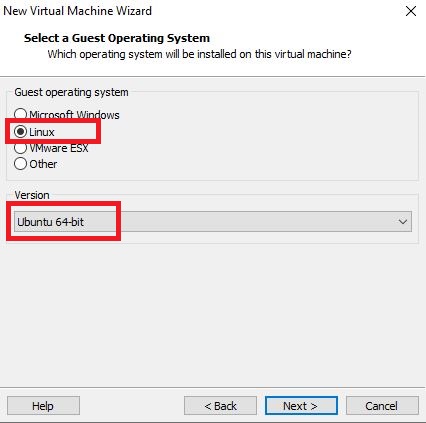
Select the guest operating system required. Next, browse to where the ISO file is saved, downloaded from the Kali Linux website. For this install, the guest operating system chosen is Linux and version Ubuntu 64-bit.
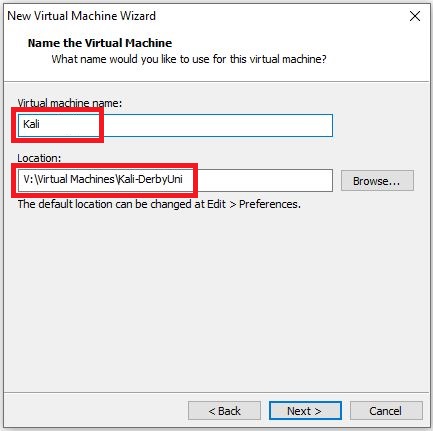
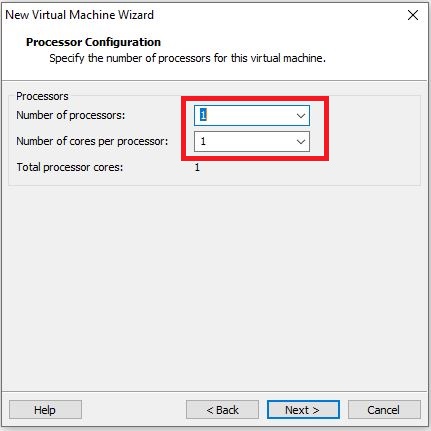
Name the virtual machine and select the virtual machine’s location. Click next and select the number of processors and cores assigned to the virtual machine (1 CPU and 1 core is used for this example).
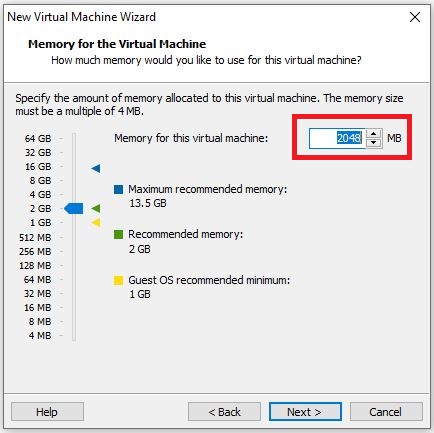
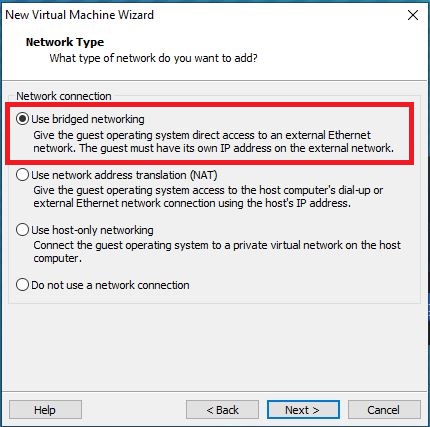
Set the amount of memory allocated to the virtual machine (2GB) and the setup up network type (bridged networking).
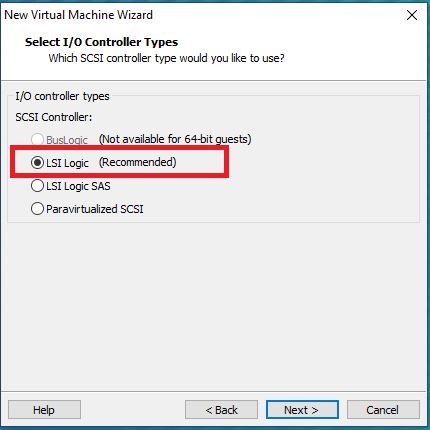
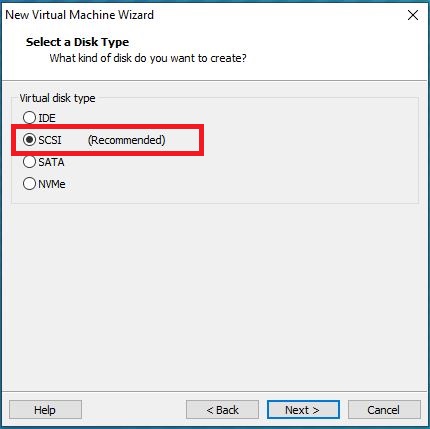
Leave the controller and disk type to its default setting (recommended) for the controller type, select LSI Logic and disk type SCSI (recommended).
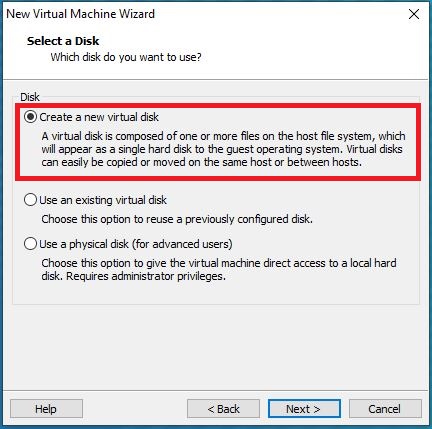
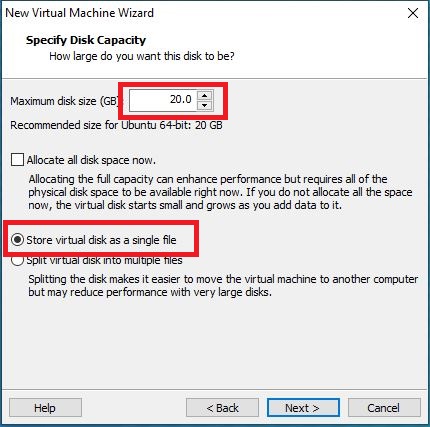
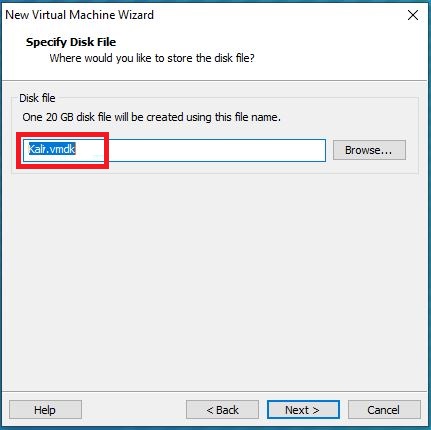
On the “Select a Disk page”, select the option “Create a new virtual disk”. The disk’s capacity is 20GB (recommended); select the option to “Store virtual disk as a single file”.
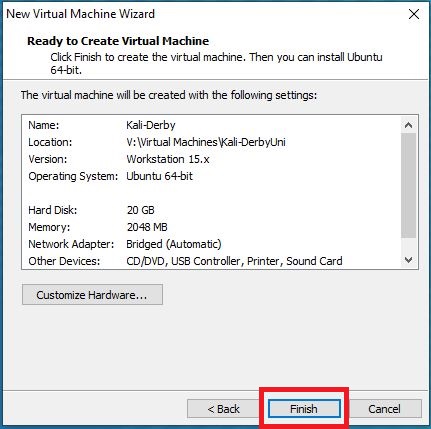
Select where the virtual disk file is stored, click next and verify the information, and click Finish to create the virtual machine.
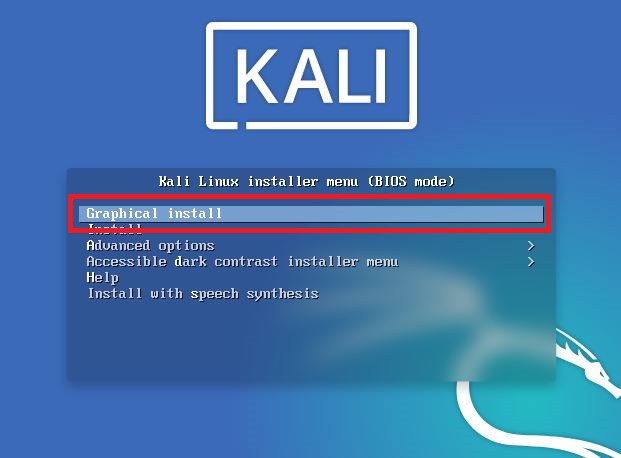
Once the virtual machine is created, it needs powering on. Once powered on, it boots from the ISO image selected when creating the virtual machine, loading the Kali Linux installer. Here select the option for Graphical Install by using the arrow keys and hitting enter to select.
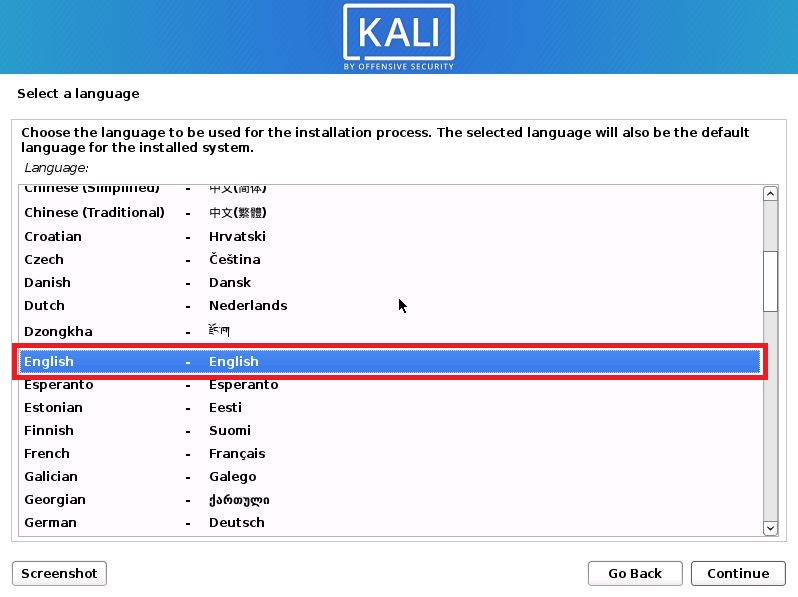
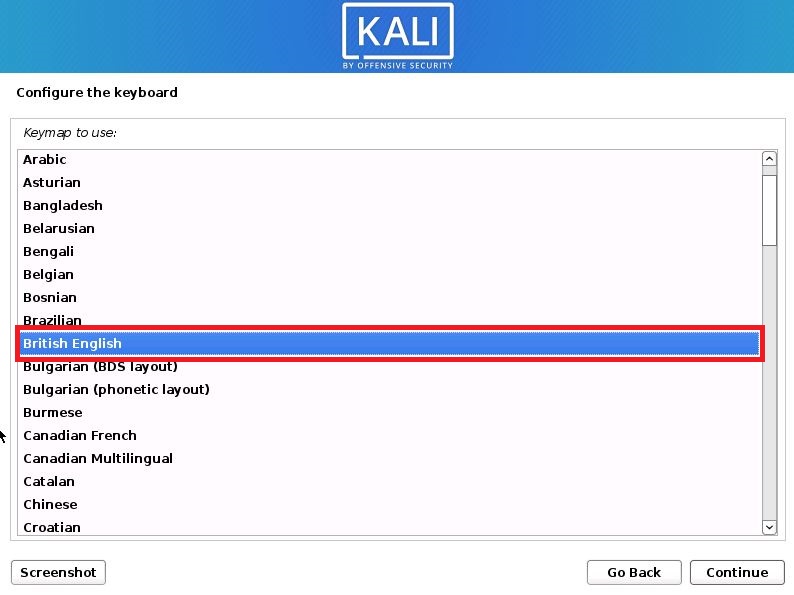
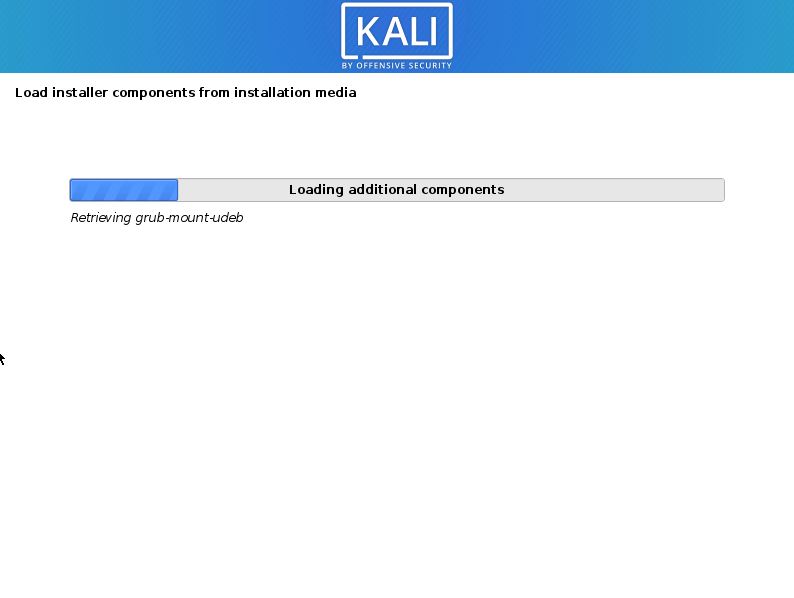
Next, select the desired language, set the location and keyboard layout. Finally, after clicking continue, the configuring process begins.

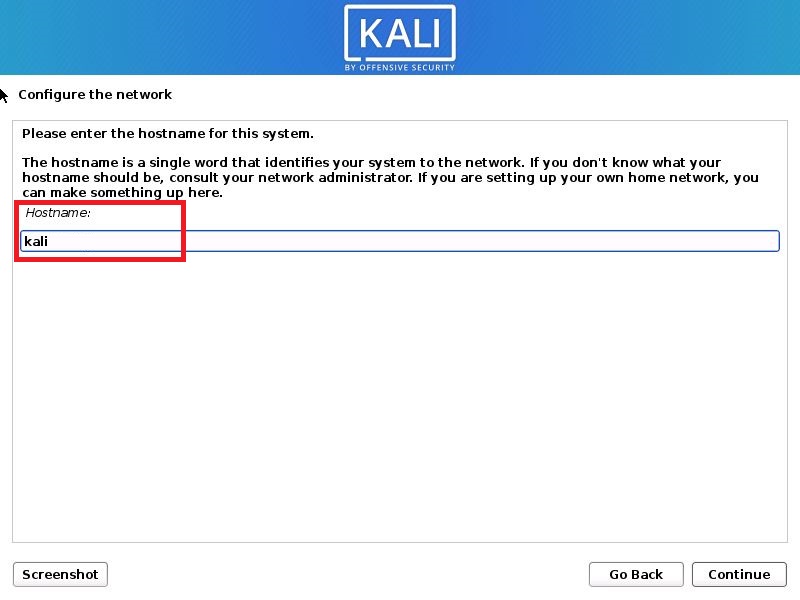
Now set the hostname (Kali) of the machine and domain name (kali.com)

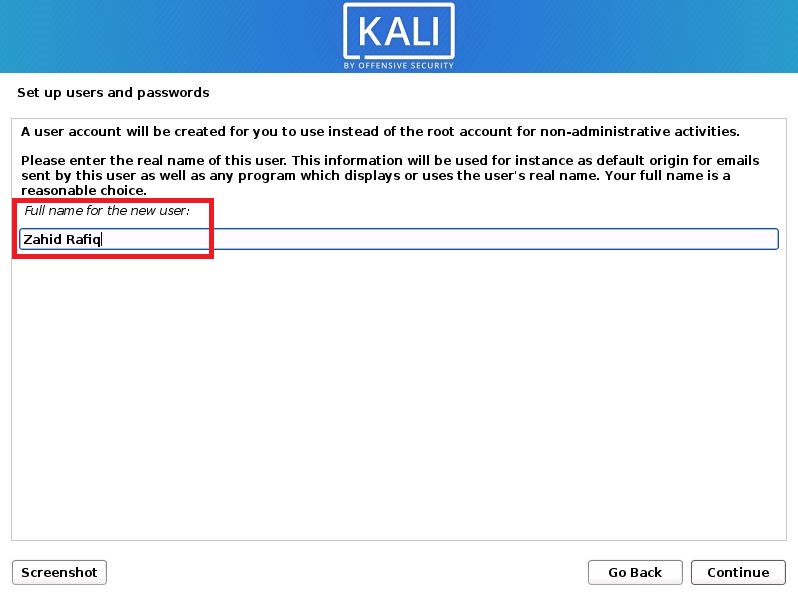
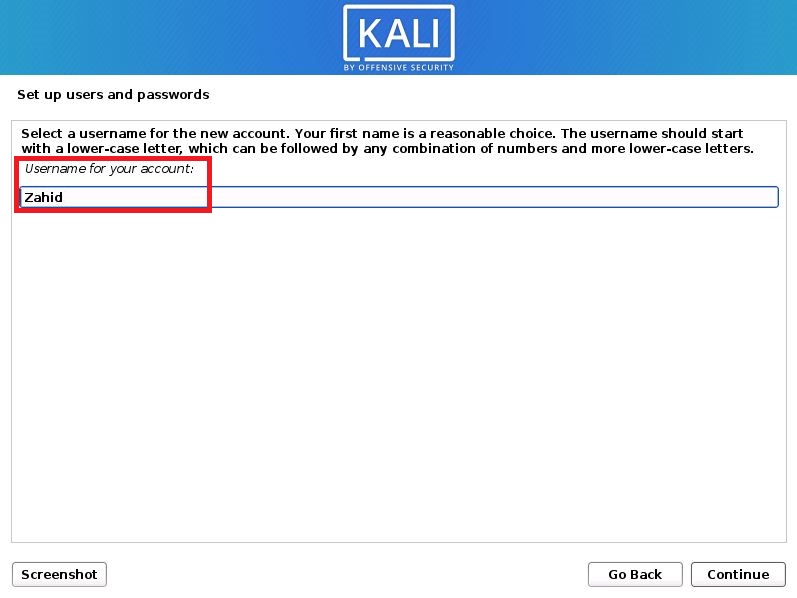
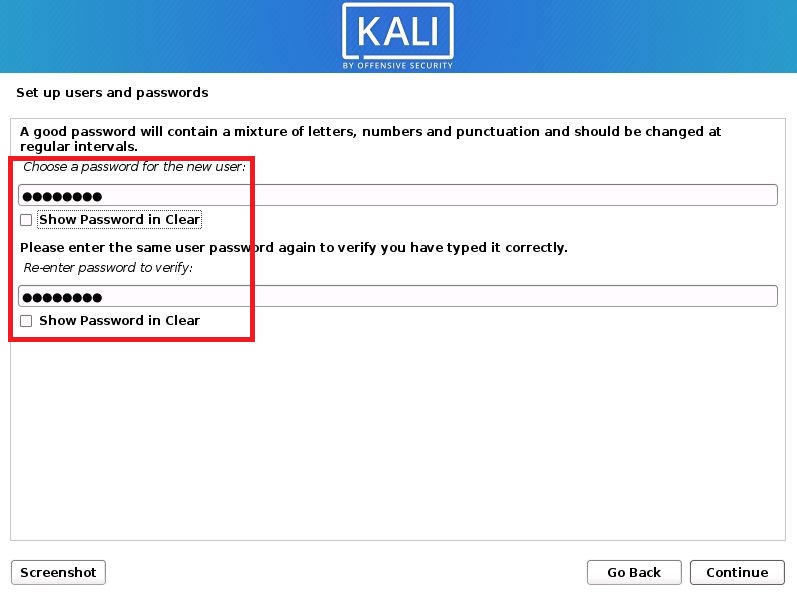
A user account needs setting up; this includes providing the full name (Zahid Rafiq) of the new user, the username (Zahid), and the password.
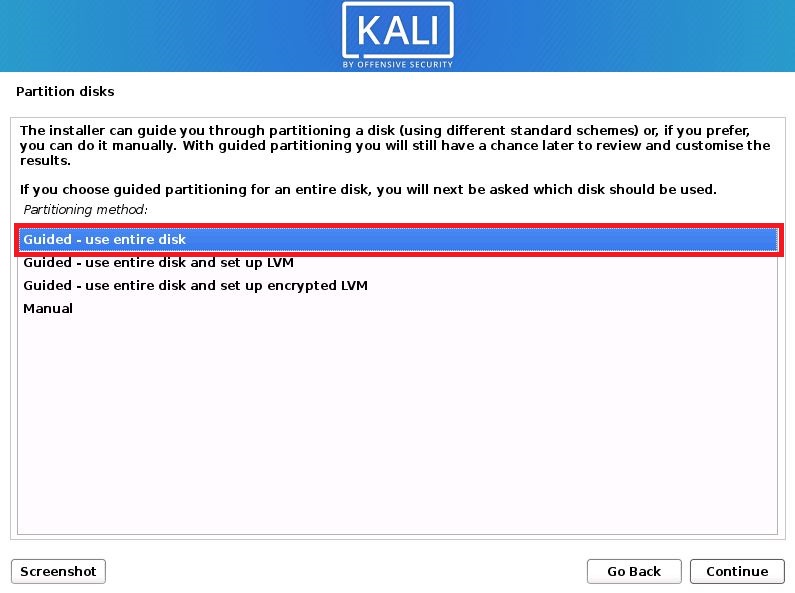
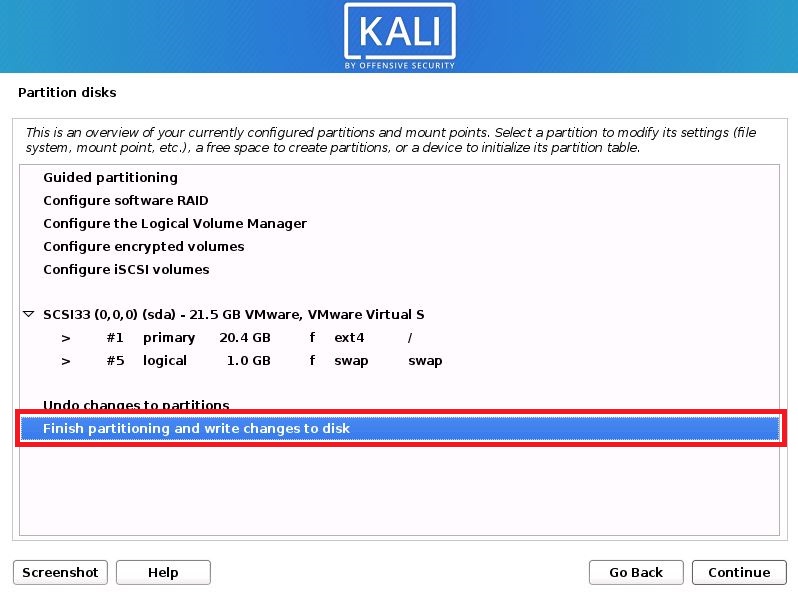
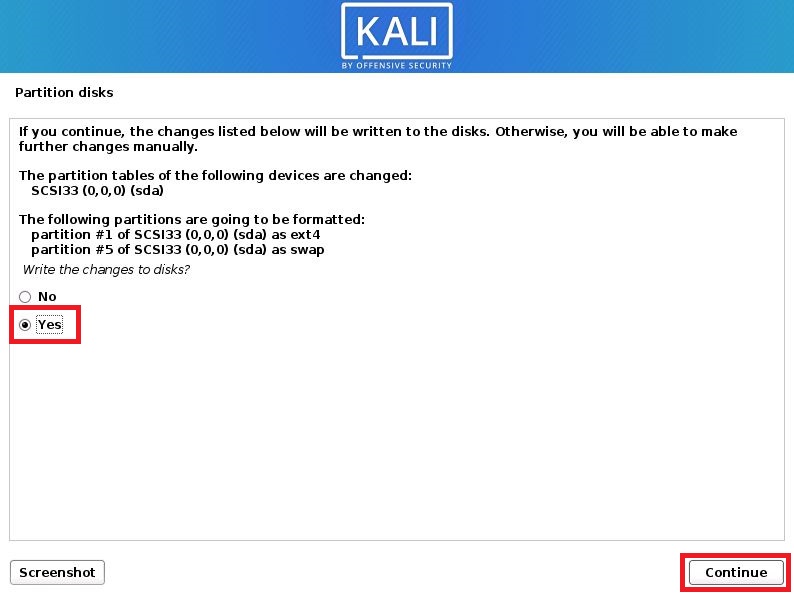
Next is the Partition Disk section. Here select the following option “Guided – use entire disk”, then select sda (only one option here), then select “All files in one partition (recommended for new users)”. Click continue, review the disk partition information, and finally select Yes to write changes to the disk and continue. The installation of the base system commences.


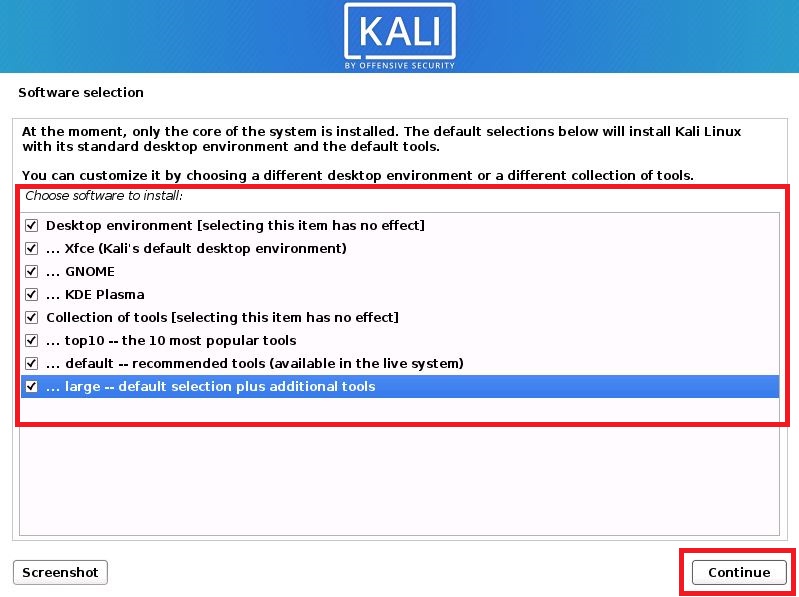
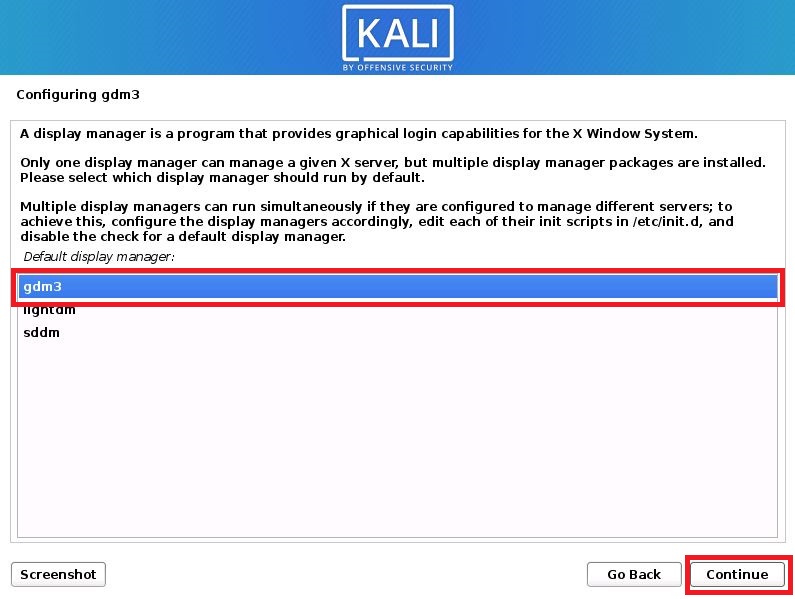
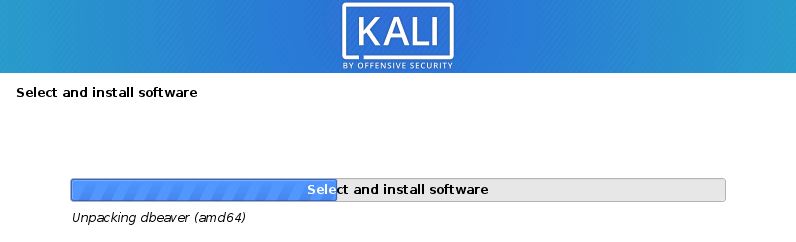
Now the software selection screen is displayed; from here, install the desired applications. All available options were selected for this tutorial; clicking continue shows the gd3m screen, here gdm3 was selected, click continue, to initiate the software installation process.
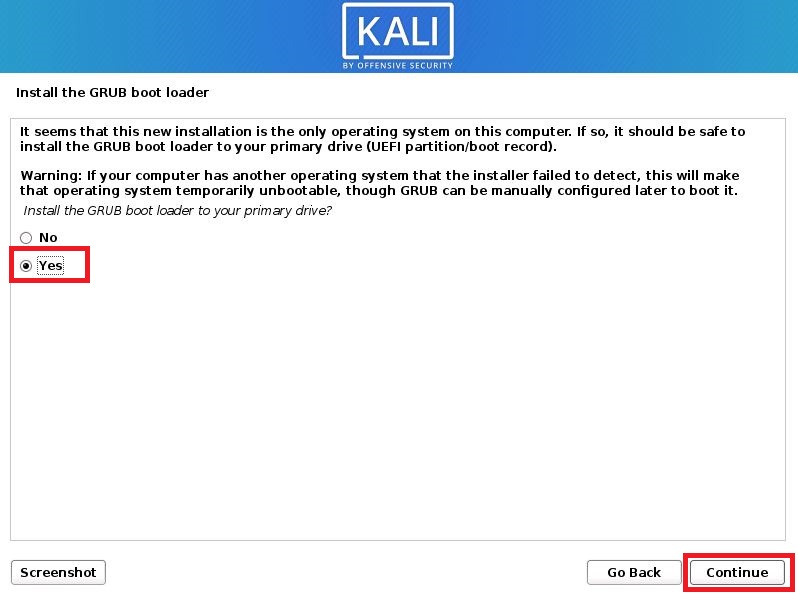
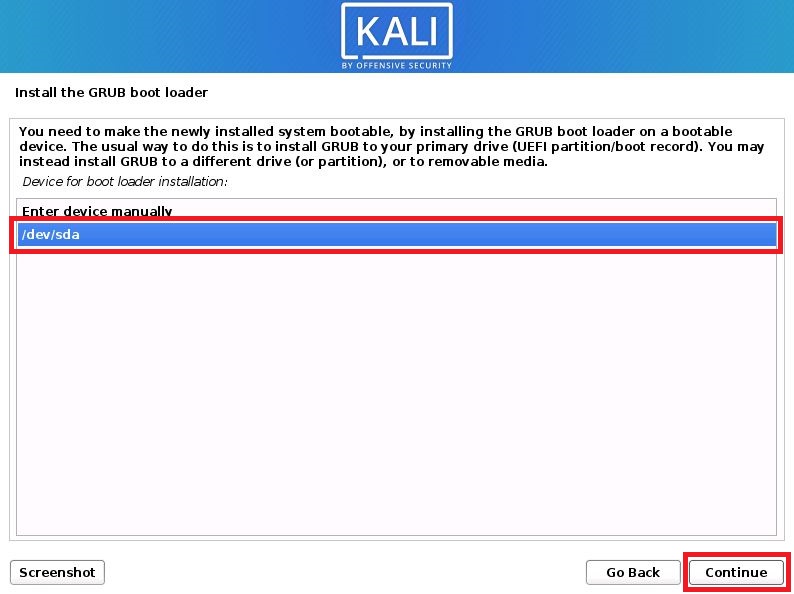
Now displayed is the GRUB boot loader section, select Yes and then select dev/sda; the installation resumes to the finalising stages of the process and finish.
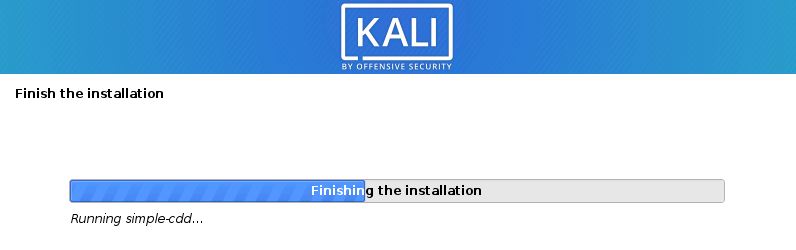
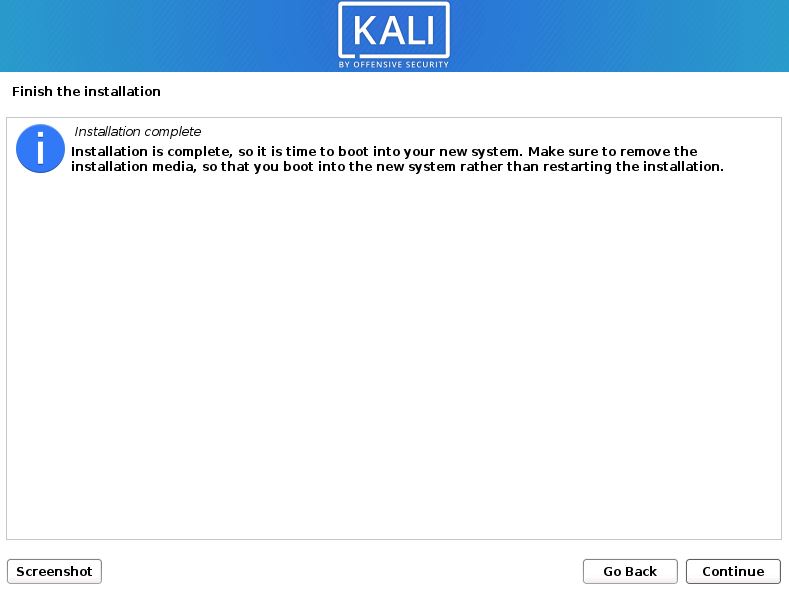
Once the installation has finished, the virtual machine reboots. Once it restarts, Kali Linux is installed and ready to use.